800-837-3261 | www.sewsteady.com
GUIDE
Guide to ruler
work for both
domestic and
long arm quilters
Access class here:
Page 2
Page 3
Page 3
Page 4
Pages 5 - 9
Page 10
•Terminology
•Set-up
•Tools
•Accessories
•Tips & Tricks
•Free 6 Class
Bundle
Ruler Work
bit.ly/6CLBEB23
800-837-3261 | www.sewsteady.com
TERMINOLOGY
GUIDE
Ruler Work
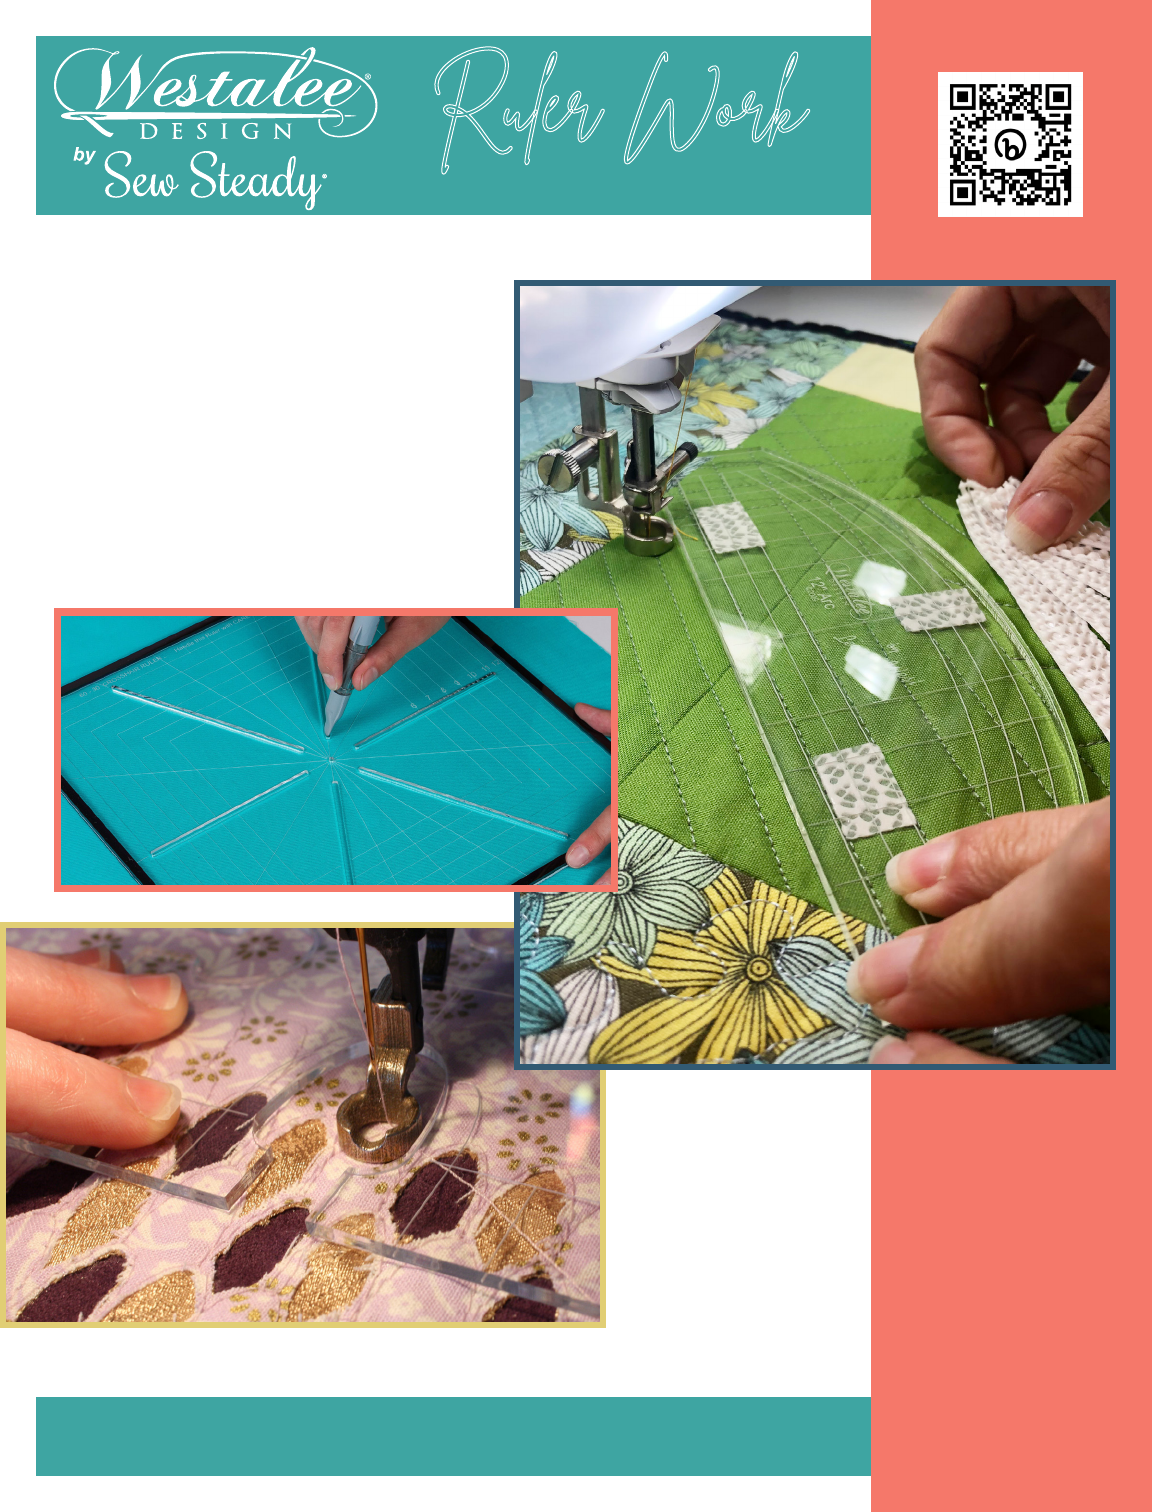
Ruler Work: Used to describe technique of quilting with
templates / rulers.
Ruler Foot: A half inch diameter, round, close toed foot used
in ruler work. Use of such a foot will aid in consistent stitched
designs when quilting with templates / rulers.
Templates / Rulers: Acrylic shapes used on a sewing
machine or long arm machine that are similar to a tracing
template. The templates / rulers are traced with the
machine’s needle to create beautiful quilted designs.
SET-UP
Machine preparation: Make sure to refer to the sewing
machine user’s manual to ensure proper settings are being
used. Settings will vary per machine model, and may include
but are not limited to:
•Use a free motion setting
•Leave the machine in a straight stitch position
•Lower the feed dogs
•Set the stitch length to “0”
Machine preparation: Make sure the machine is threaded
properly. Clean the bobbin area to remove any extranneous
threads. Using a needle with a larger eye will better enable
thread to move freely as fabric is moved in all directions.
Note: Do not use any pivot or hover setting when doing ruler
work on a domestic machine.
Access class here:
bit.ly/6CLBEB23
800-837-3261 | www.sewsteady.com
TOOLS FOR SUCCESS
GUIDE
Ruler Work
Necessities: For the best ruler work experience, some tools
will be required. These may include but are not limited to:
•Needles — new 90/14 topstitch recommended, or other
needle with a larger eye
•Thread — 30-50 weight cotton recommended
•ExtensionTable—havinganextendedatworksurface
ensures template / ruler stability
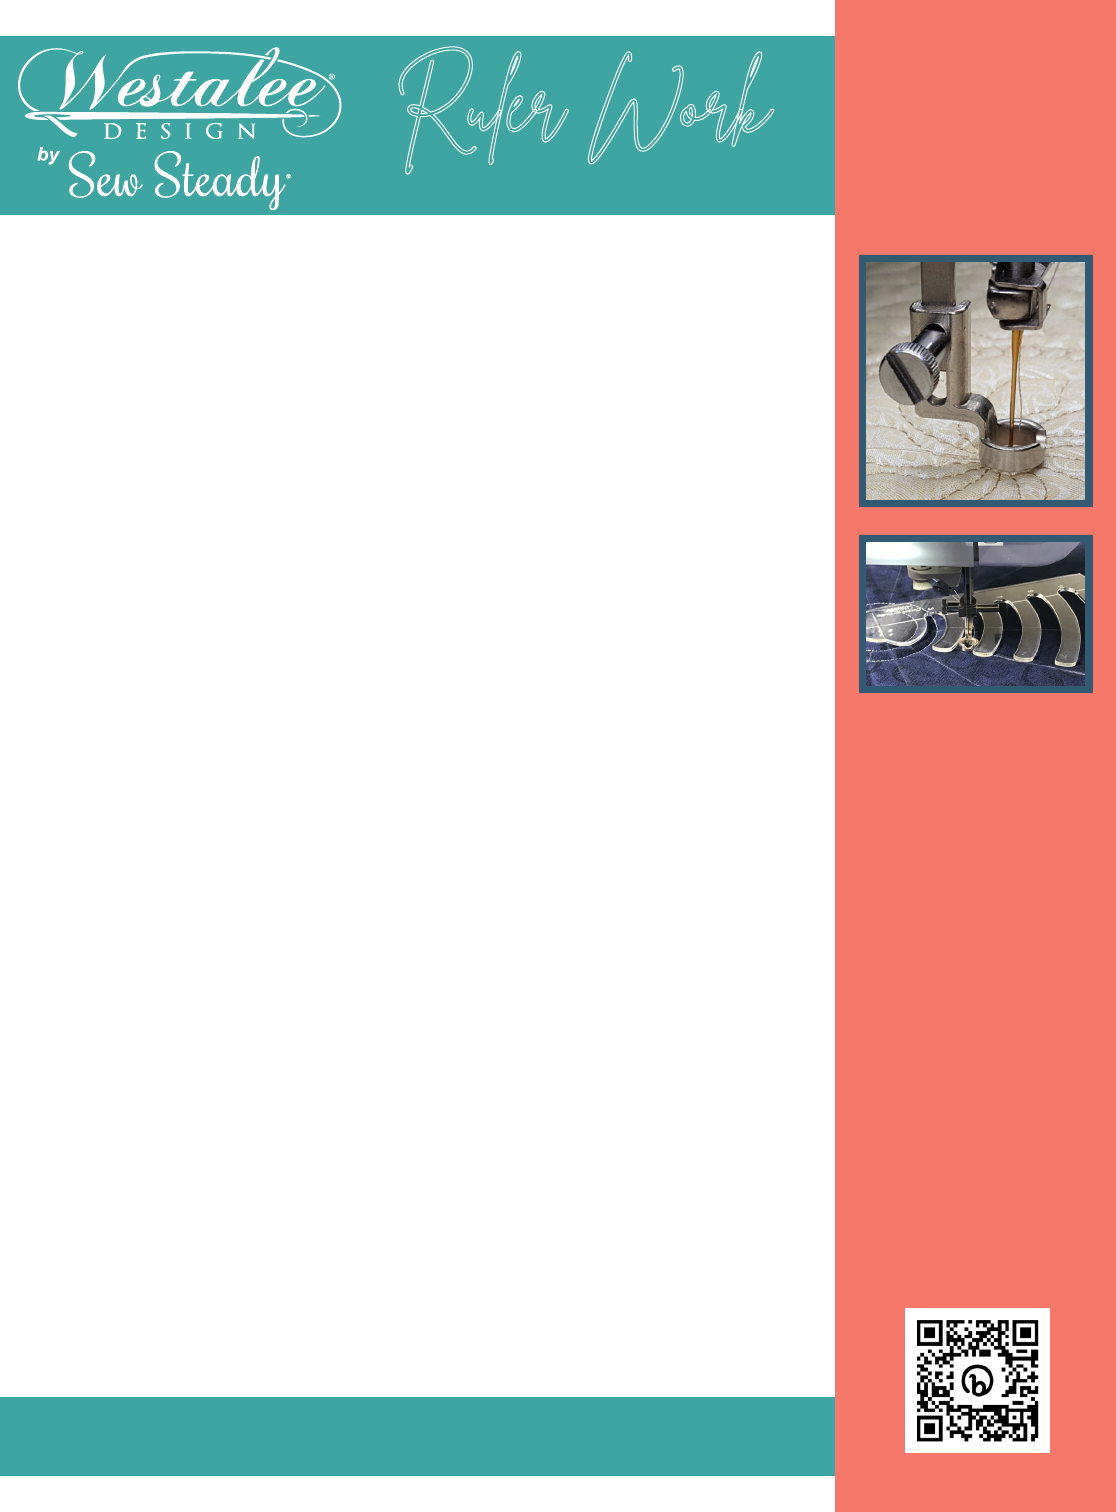
•Ruler Foot — a 1/2” diameter, round, close toed Foot will ensure the
needle remains a consistent distance from the edge of the template
/ruler.WestaleeDesigndomesticrulerfeetareoeredin4dierent
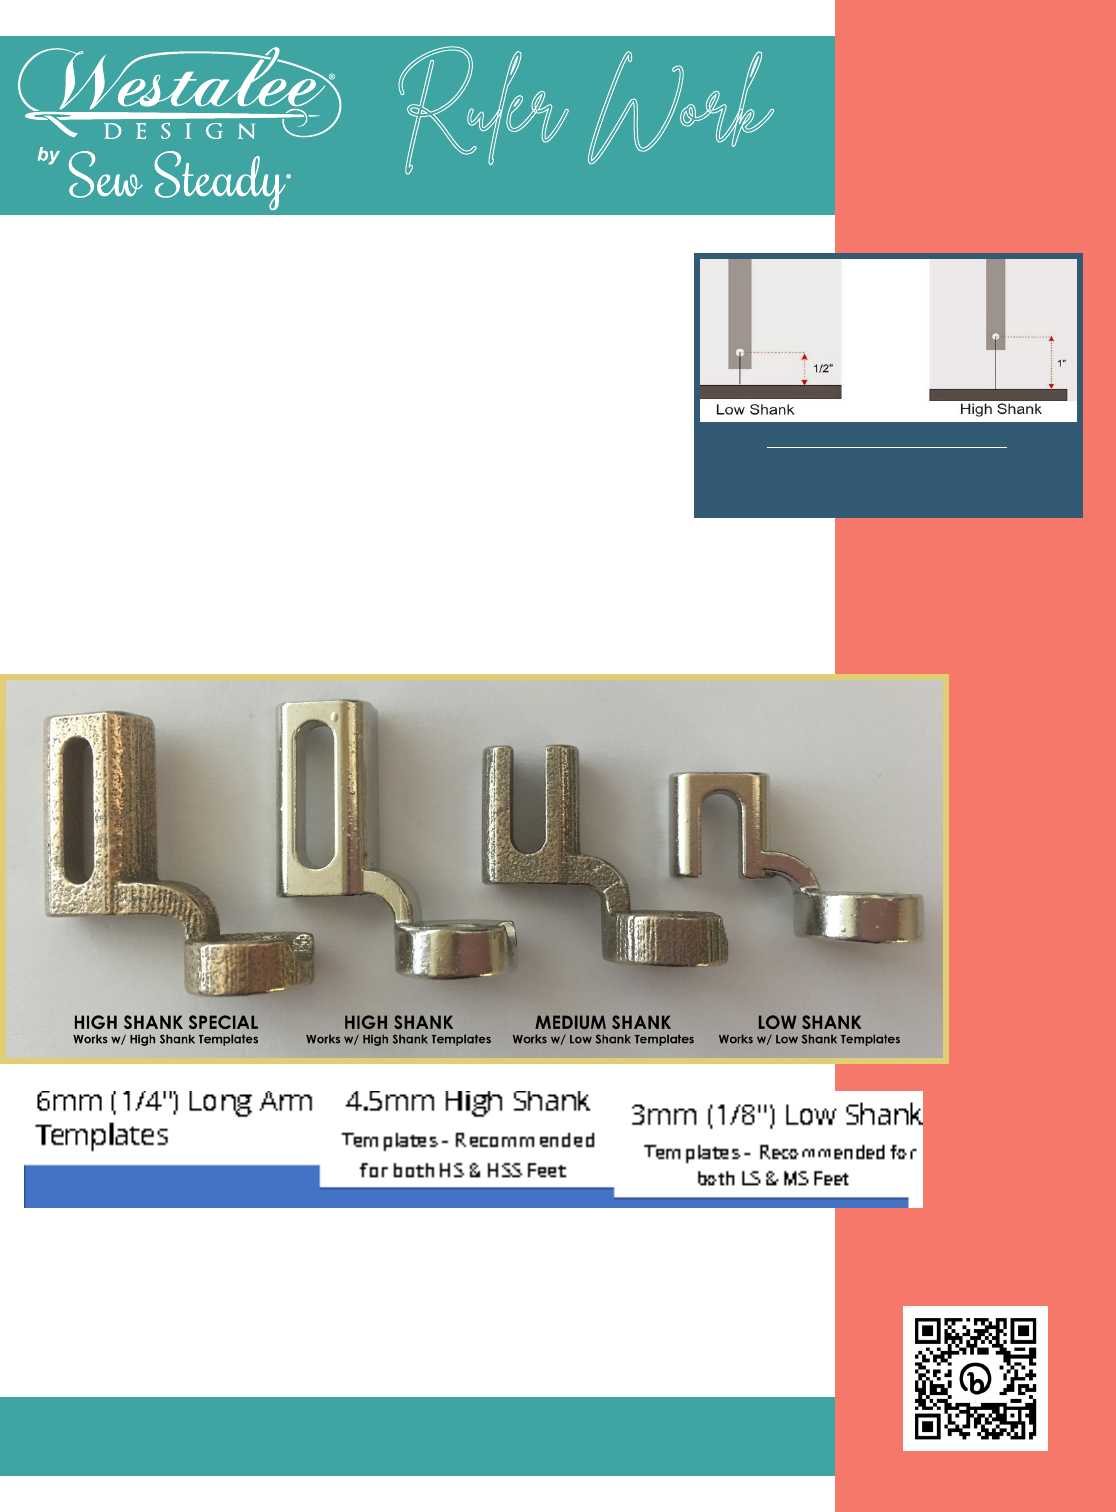
sizes: Low Shank, Medium Shank, High Shank and High Shank Special
•Templates—WestaleeDesignoerstemplates/rulersinmultiple
thicknesses of acrylic. Using the recommended thickness will ensure
the template / ruler can work around all sides of the Foot, which aids
in the best ruler work experience
Access class here:
bit.ly/6CLBEB23
To determine shank size:
Lower your foot, measure the distance between
the center of the hole for the foot mounting screw,
and the needle plate
800-837-3261 | www.sewsteady.com
GUIDE
Ruler Work
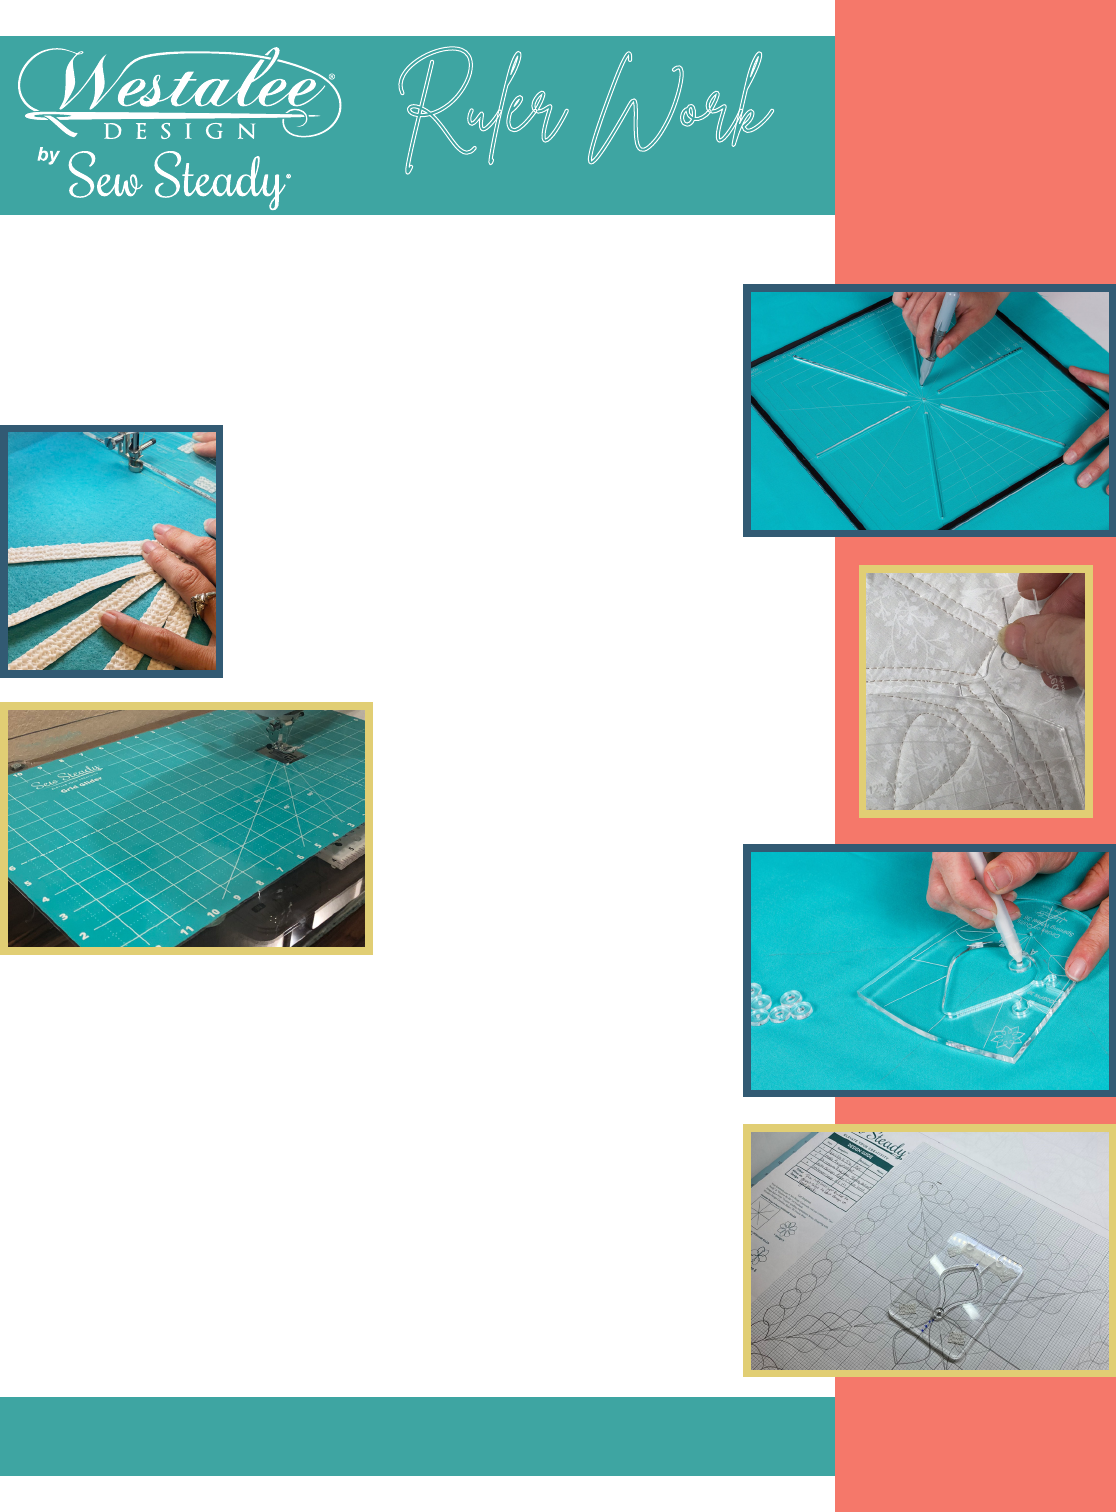
Crosshair Ruler: Used to mark fabric before quilting to
plan the position of stitched designs, particularly useful
with rotating template / ruler designs.
Stable Tape: This is a self adhesive
tape to help keep
templates / rulers in place.
Spacing Gauge: This is a handy little tool to
help measure 1/8”, 1/4”, 1/2” and 1” spaces
when using templates / rulers.
Glider: The use of a Glider
will allow for slick fabric glide
across the surface, allowing
fabric to freely move in all
directions.
Stitching Line Discs: Use
the Westalee Stitching Line
Discs (little circles to draw
a 1/4” from the edge of Template – the stitching line)
and your favorite marking tool to draw out
designs before stitching them.
Sketch Pad Design Guide: This 17” x 17” Grid includes
an 1/8” grid (8 x 8 per inch) with graph space on the
right to create your design.
ACCESSORIES

800-837-3261 | www.sewsteady.com
GETTING STARTED
GUIDE
Ruler Work
TheWestaleeDesignRulerFootisdesignedtooatabove
the surface of the quilt sandwich, with the goal of having the
template / ruler positioned up against the Foot as a guide.
Thereshouldbeenoughroomforthequiltsandwichtoow
freely underneat the Foot, but no so much room as to allow
the template / ruler to slide underneath the Foot.
You may need to make slight adjustments to the height of
the Ruler Foot to achieve the perfect position. Sometimes
presser foot pressure settings need also be adjusted.
When doing ruler work, the stitch length is determined by
you. Start slow to achieve a comfortable, consistent pace.
Secure Stable Tape onto the pressure points of the template
/ ruler to aid in gripping fabric, with the goal of moving both
the template / ruler and quilt sandwich together.
TIPS
Everymachineisdierentinthewayitbehaves.Someminor
adjustment may be required to achieve the optimal Ruler
Foot alignment, height and tension. The needle should be
centered within the round portion of the Ruler Foot.
Using a zig zag stitch plate can allow bobbin thread to move
more freely.
Mark reference lines to achieve the best results.
Access class here:
bit.ly/6CLBEB23
800-837-3261 | www.sewsteady.com
GUIDE
Ruler Work
Stable Tape Placement: Place the tape in 1/2” pieces where
youwillrestyourngerswhilerulerquilting.Youwillprobably
want to purchase an extra package of Stable Tape.
Applying the tape in these locations
will help you when working with the
templates.
TIPS CONTINUED
Access class here:
bit.ly/6CLBEB23
800-837-3261 | www.sewsteady.com
GUIDE
Ruler Work
Access class here:
bit.ly/6CLBEB23
Needles:
•Recommend starting with a 90/14 Topstitch Needle.
•When free motion quilting with rulers make sure that your
needle is new - change the needle regularly as an old or
damaged needle will cause skipped stitches and thread
breakage
•When free motion quilting, we expect our thread to work
moving in all directions and because of this directional
movement you need to use a needle with a larger eye. The
larger eye prevents the thread from shredding and will give
you a better stitch
•I use “Topstitch” needles (the Superior Titanium needles are
great) or quilting needles
Thread:
•For best success, we recommend starting with a 50 weight
cotton thread
•Therearesomanybeautifulthreadstochoosefrom,ner
threads give a light feel to your quilting, and heavy threads
give a more solid appearance
•Do you want your quilting to be subtle or do you want your
quilting to be the feature? The choice is yours
•You can use most threads for quilting and there are no rules,
ifyoundathreadthatyoulike,tryit!
TIPS CONTINUED

800-837-3261 | www.sewsteady.com
GUIDE
Ruler Work
Getting your machine ready for ruler work and how to resolve
the following issues:
Top Thread is too tight / Bobbin Thread is too tight or top thread is too
loose
Tension is one of the most misunderstood and feared parts of using our
machines. For years we have been taught to fear our tension dials for
both the top thread and the bobbin. Once you understand tension, you
will never fear making adjustments again.
Why would you want to adjust the tension?
When free motion quilting you may need to adjust the tension to suit the
quiltsandwichoryoumaywanttousedierentthreads.
What should a my stitch look like?
When the tension is correct, your stitch forms so that the top thread and
the bobbin thread join and rest in the middle of the quilt sandwich.
If the top thread is too tight - the top thread pulls the bobbin
thread to the top of the quilt sandwich.
Loosen the top thread tension or tighten the bobbin thread. If the bob-
bin thread is too tight, the top thread is pulled to the bottom of the quilt
sandwich. Loosen the bobbin thread or tighten the top thread. To tighten
turn right, to loosen turn left (Remember Lefty Loosy-Righty Tighty)
Top Tension: the lower the number the loose the tension; the higher
the number the tighter the tension.
To check your tension, thread machine with a light colored
thread in the top and a dark colored thread in the bobbin.
h. Tension adjustment screw
NOTE: If your machine has a good balanced straight stitch in regular
stitching, you should not need to make any major adjustments.
MACHINE SET-UP
Access class here:
bit.ly/6CLBEB23
800-837-3261 | www.sewsteady.com
GUIDE
Ruler Work
Access class here:
bit.ly/6CLBEB23
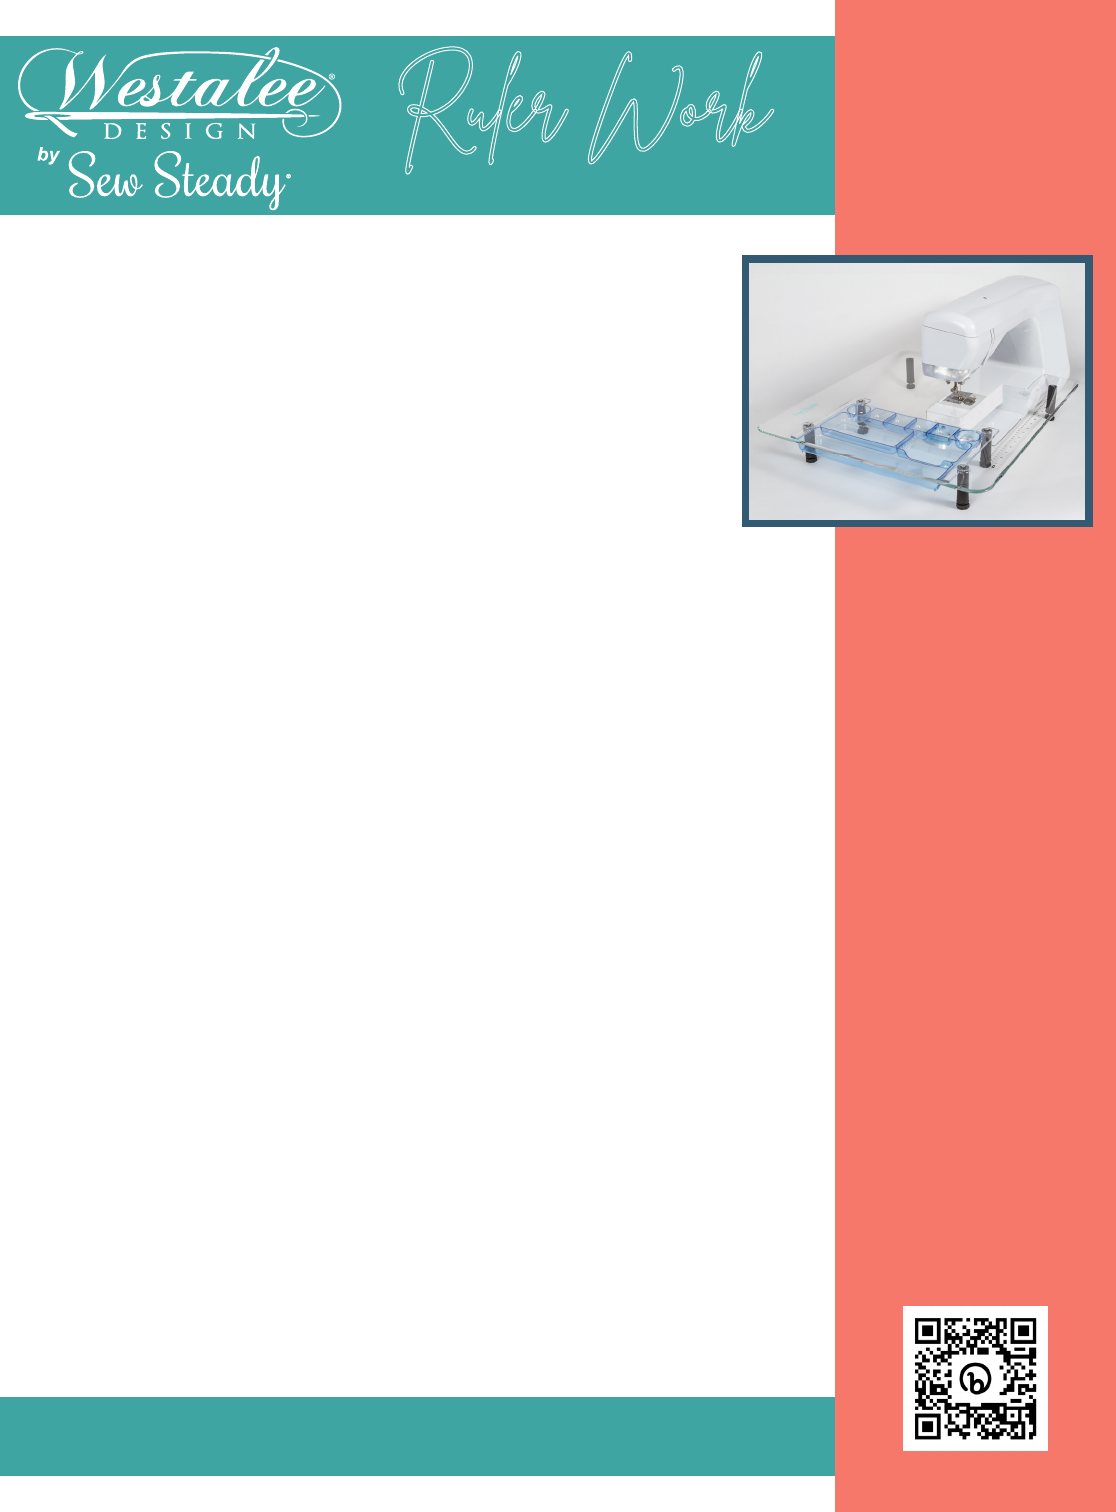
EXTENSION TABLE
•AnExtensionTabledesignedtotyourmachinewill
make quilting with rulers and templates and free
motion quilting so much easier.
•We need the extension table for rulers and templates
as it prevents you from rocking the templates which
willmakerulerworkextremelydicult.
•Attedextensiontable(SewSteady)doesnothave
gaps that could catch templates as you move them
across the throat of the machine causing you to miss a
stitchorrunoline.
•Free motion quilting requires you glide the quilt smoothly
to get an even stitch, a Free Motion Glider is well worth
having. In my opinion, it is absolutely necessary.
BASTING
There are a number of ways to baste your quilt:
•Long basting stitch
•Pin basting
•Spray basting
•You can have a long arm quilter baste your quilt
•Spray baste and pin baste
•Whichever method you choose, remember that the basting
should be no more than 4” apart
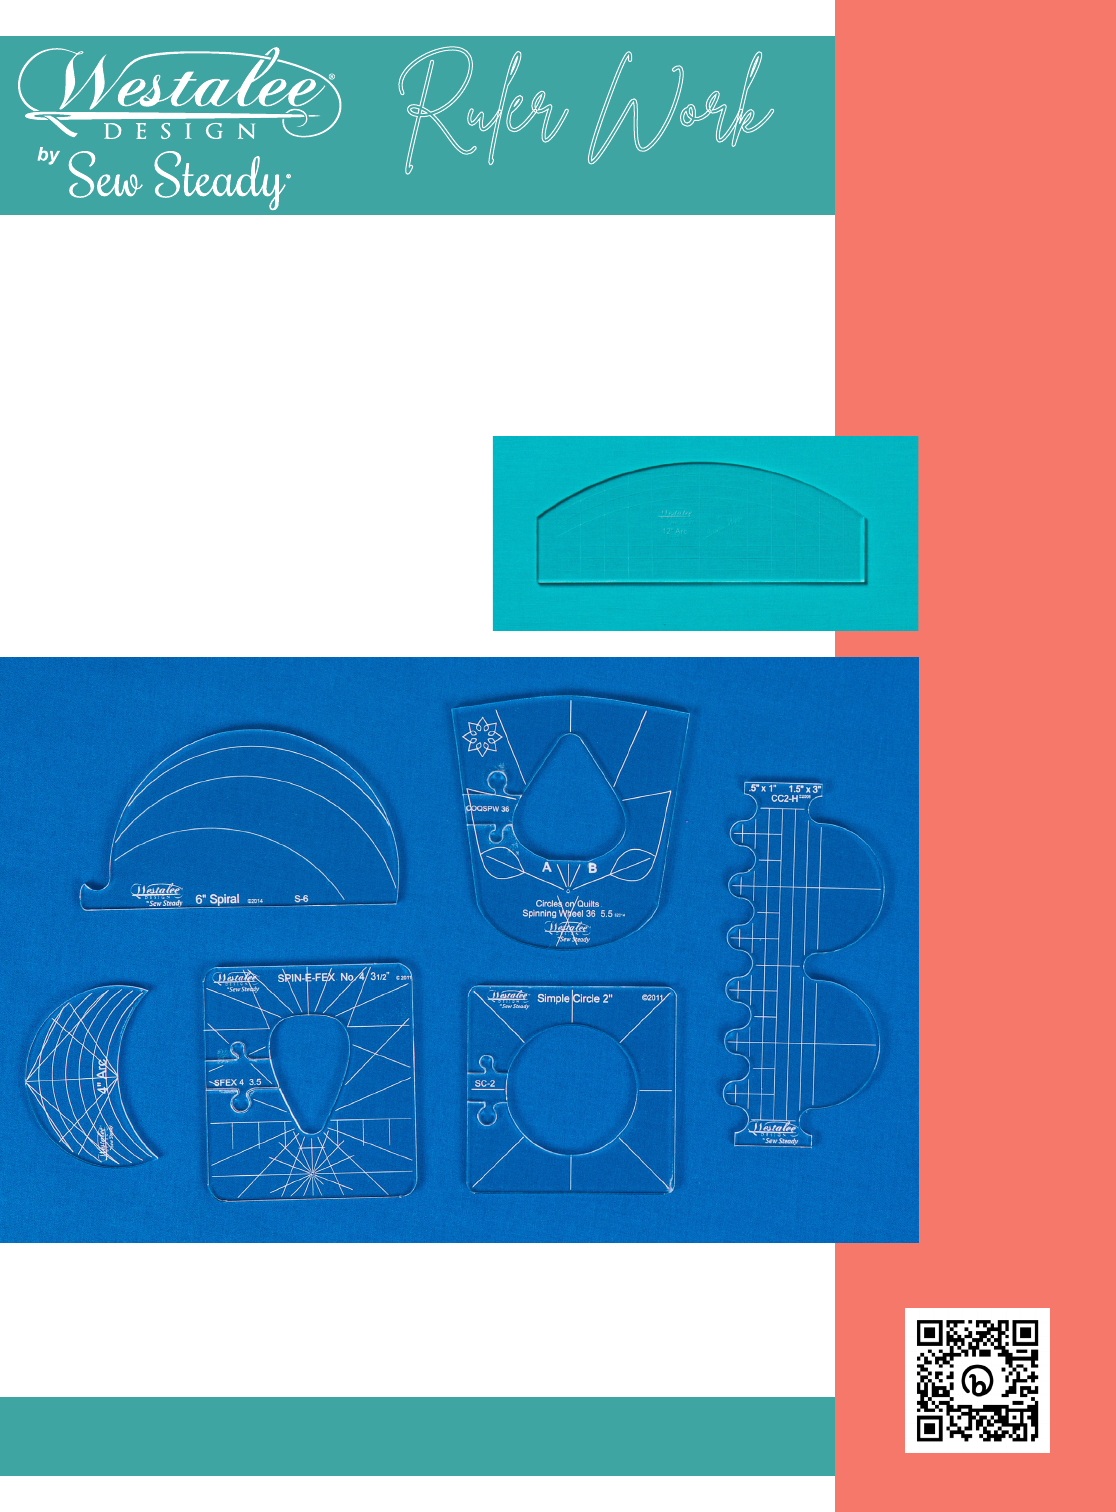
Ruler Work 101
Learn the basics of RulerWork on a
Domestic Machine. Get Ruler Work Tips and
Tricks. Learn how to set up machine for ruler
work and how to create basic quilted designs
using the Westalee Design 12” Arc.
800-837-3261 | www.sewsteady.com
GUIDE
Ruler Work
Access class here:
bit.ly/6CLBEB23
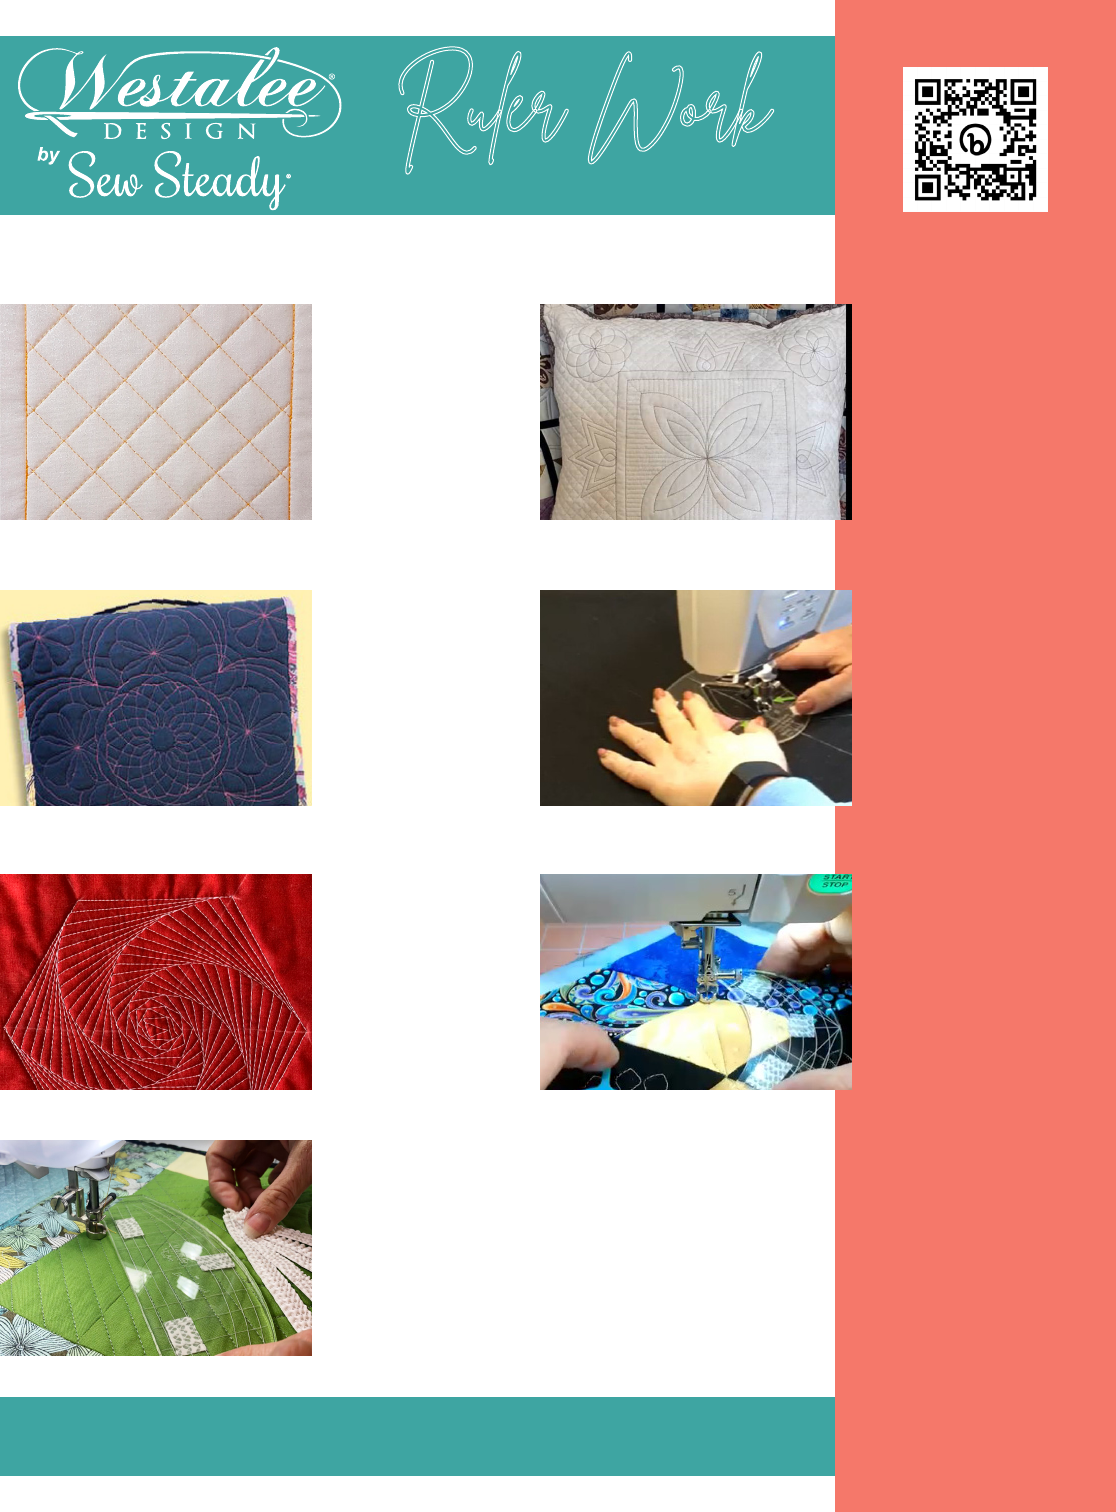
QUILTING ESSENTIALS BUNDLE
Straight Lines
Library by
Leonie West
A 20 page booklet
highlighting quilting
designs using the
Westalee Design 12”
Arc.
Westalee Design
Cushion Cover
Option 2 by
Sharon Wyatt
Sharon walks you
through creating this
cushion cover using
Westalee Design’s
Sampler Set, 12” Arc
and Crosshair Ruler.
12.5” Ruler/Block
Carrier by
Angela Attwood
This practical carrier
will hold any 12.5”
square ruler or
patchwork blocks.
Get creative quilting
with your favorite
templates.
Let’s Get Started
Quilting with
Templates by
Donelle McAdams
Follow Donelle as she
covers the basics of
using Westalee
Design’s 12” Arc and
Sampler Set.
Parabolic Curves
by Helen Sullivan
Step by step
instructional pattern
and video by Helen
Sullivan Designs that
shows you how to
stitch using Westalee
Design’s 12” Arc.
Learn to use the
Westalee Design
4” Arc by
Nanne Panne
Nanne shows you
unique ways to use
the Westalee Design
4” Arc and DMQuilting
Straight Away Template
to create fun leaves.
