
BERNINA
eBook Series
JUST QUILT IT!
Ruler Work for Quilters
for both Longarm and Domestic Machines
Written by:
Nina McVeigh, BERNINA Educator,
Quilting and Longarm Specialist
Terminology
§
Ruler Work Accessories
§
Machine Setup
Ruler Preparation §
Bonus Project
© 2016 BERNINA of America bernina.com
TERMINOLOGY
RULER WORK
The use of specialized quilting rulers to create accurate, repeatable designs. Create straight lines, curved lines,
scallops, waves, and specic designs while free-motion quilting with the use of these rulers. While rulerwork is
traditionally done on a Longarm machine, it can now be done on domestic machines as well.
RULER FOOT
A free-motion foot, where all edges of the foot are ¼” from the needle. The thick outside edge of the foot, called
the ‘fence’ keeps the ruler from sliding under or over the foot. The BERNINA Ruler Foot #96 is available for BERNINA
Q Series and the BERNINA Adjustable Ruler Foot #72 is available for BERNINA domestic sewing machines.
QUILTING RULERS
Acrylic templates that are 3/8 to 1/4 inch thick meant to hold against a ruler foot to create a specic shape.
BERNINA has two sets of 1/4 inch rulers available. One set is designed for the sit-down quilter and the other set
for the frame quilter. Either set can be used in either quilting situation.
BERNINA RULER KIT FOR SIT DOWN
MACHINES
• Mini Straight Line Tool
• Squiggle Template
• Nested Mini Ovals
• Nested Mini Circles
• Mini 4-in-1
RULER KIT FOR FRAME MODELS
• Nested Ovals
• Nested Circles
• Mini 4-in-1
• S Shape
• Starter Tool
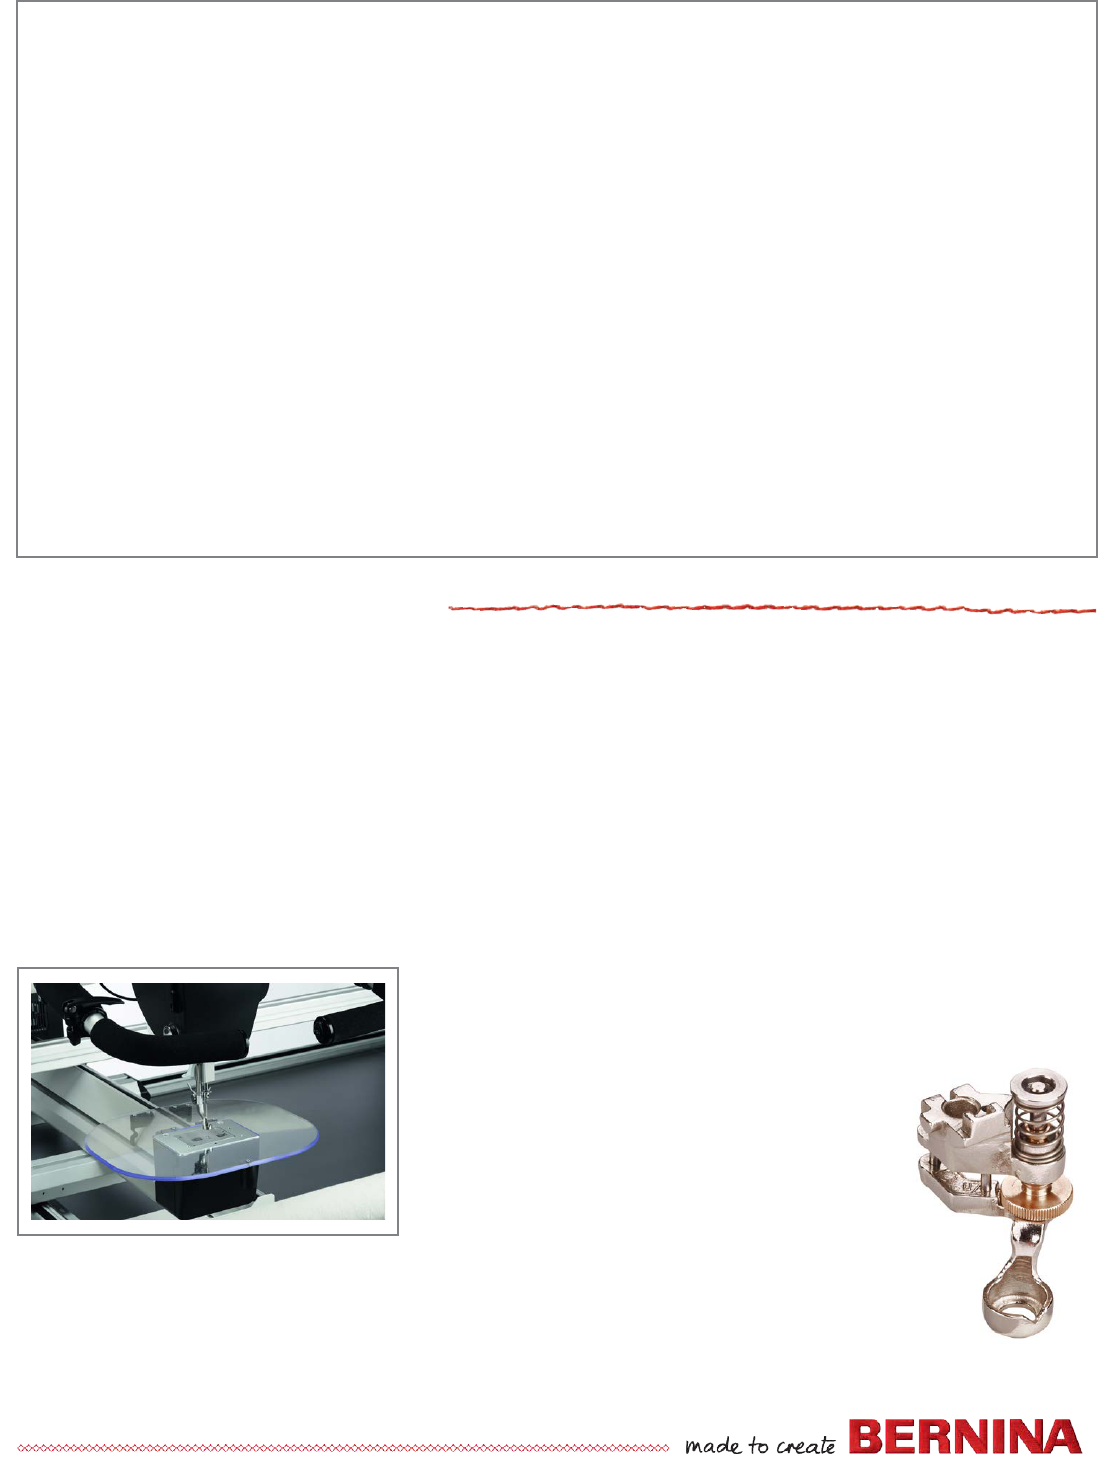
RULER WORK ACCESSORIES
If using a BERNINA Q 24 or Q 20 on the Frame you will need a Ruler Base
to steady the ruler when doing ruler work. The Ruler Base, the Ruler Foot
#96 along with a Mini Straight Line Tool are available in the BERNINA Ruler
Work Kit for the Q Series. If using a Q 20 Sit-down
Model you will only need the Ruler Foot #96.
Adjustable Ruler Foot #72 is available for BERNINA
Domestic Sewing Machines. The height of the foot
is adjustable so it may be used on most models of
BERNINA sewing machines.
When doing ruler work on a domestic sewing machine, you will need to have a level surface
around the machine. It is best to have the machine in a table. However a large acrylic table may
also be used.
NOTE: THE ADJUSTABLE RULER FOOT #72 IS NOT MEANT TO BE USED WITH A
DOMESTIC MACHINE MOUNTED ON A QUILTING FRAME.
ADJUSTABLE RULER
FOOT #72

© 2016 BERNINA of America bernina.com
SETTING UP THE MACHINE FOR RULERWORK
Q SERIES LONGARM
• Attach Ruler Foot #96
• Select Needle Stop Down
• Select BSR 2
• If at a frame model, move the adjustable handles for maneuverability of the rulers
DOMESTIC MACHINES
• Select the Straight Stitch
• Lower Feed Dogs (some models do this automatically)
• Attach the Straight Stitch Throat Plate
• Select Needle Stop Down (optional)
• Turn off Hover Function if Applicable (optional)
• Attach Ruler Foot #72 to the machine
• Adjust the Height of the Sole
o Turn height adjustment dial until the sole is in the lowest position.
o Set sole height according to the thickness of the quilt/batting.
o The range is 4mm (1/6”).
o Check height of foot in relation to the quilt/fabric.
o The sole should just touch the fabric and easily glide over the fabric and seams
o If height is too high, the result is thread loops or skipped stitches
• Adjust Presser Foot Pressure (optional)
o If sole needs to be raised further, adjust in the presser
foot pressure menu
o On BERNINA 4, 5, and 6 Series machines lower the
pressure to lessen the pressure on the quilt layers if
o On BERNINA 7 and 8 series machines the foot actually raises or
lowers as you raise or lower pressure.
o To adjust height in the presser foot pressure menu select on
the touch screen
o Move from -3 to -25
o The foot lifts higher as you move the pressure closer to -25
o Also, by moving the pressure from -3 to -25 the hopping
height reduces. If no “hopping” of the foot is preferred, this
is a great option.
necessary, foot height will not change.
© 2016 BERNINA of America bernina.com
Click for Video!
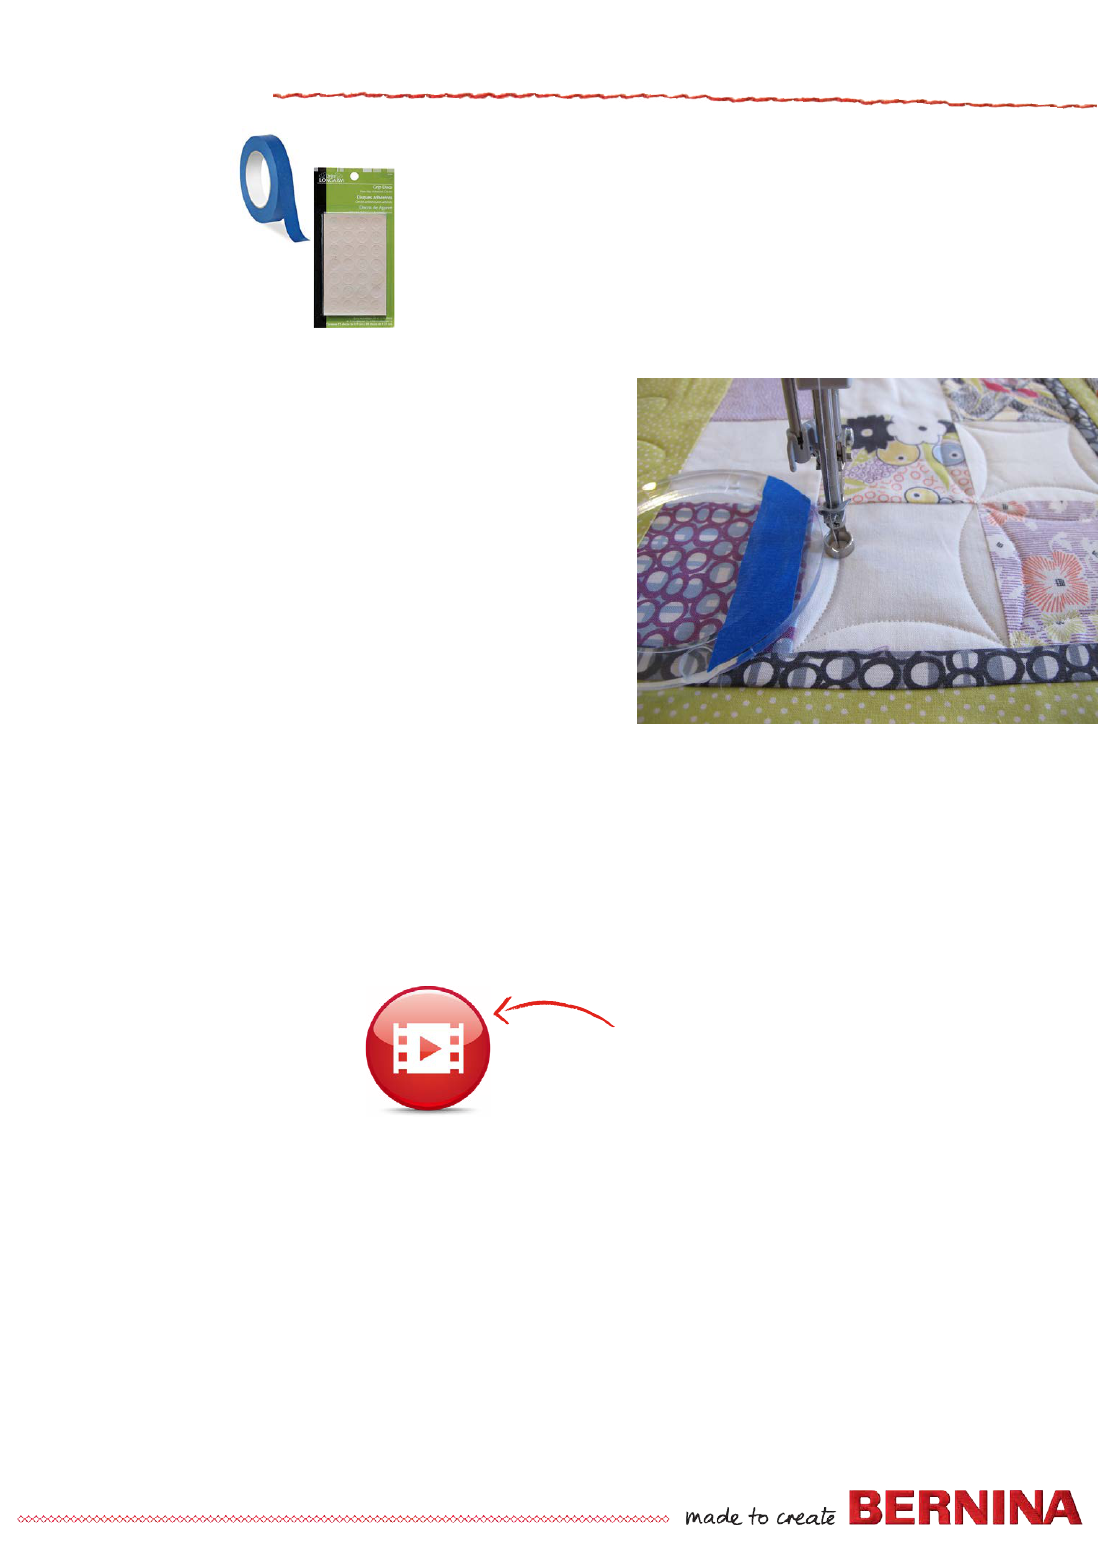
PREPARE RULERS
TIP!
• Hold Nested Rulers together with Painters Tape.
• Place a gripping surface on back of Rulers.
GETTING STARTED
• Place fabric under the foot and lower the foot.
• Lower needle into the fabric where stitching is going to start.
• Pull up bobbin thread and secure with desired method.
• Slide the edge of ruler up to the foot.
• Use the edge of the ruler as a guide for the foot.
• Hold ruler with your ngertips.
• Place ngertips a comfortable distance apart in the area where
you will be stitching.
• Walk hand on ruler to use additional length.
• Place enough pressure on the ruler to gently guide foot along the edge without the ruler moving.
AT A FRAME MODEL
• You will be holding the ruler in place and guiding the edge of the foot alongside it as you move the machine.
• Move one handle on the machine out of the way for better access to the ruler.
• Program the usable handle with the functions desired.
AT A SIT-DOWN MODEL
• Place enough pressure on the ruler to move the fabric and ruler at the same time.
• There is a ne balance between the proper pressure and too much pressure.
© 2016 BERNINA of America bernina.com
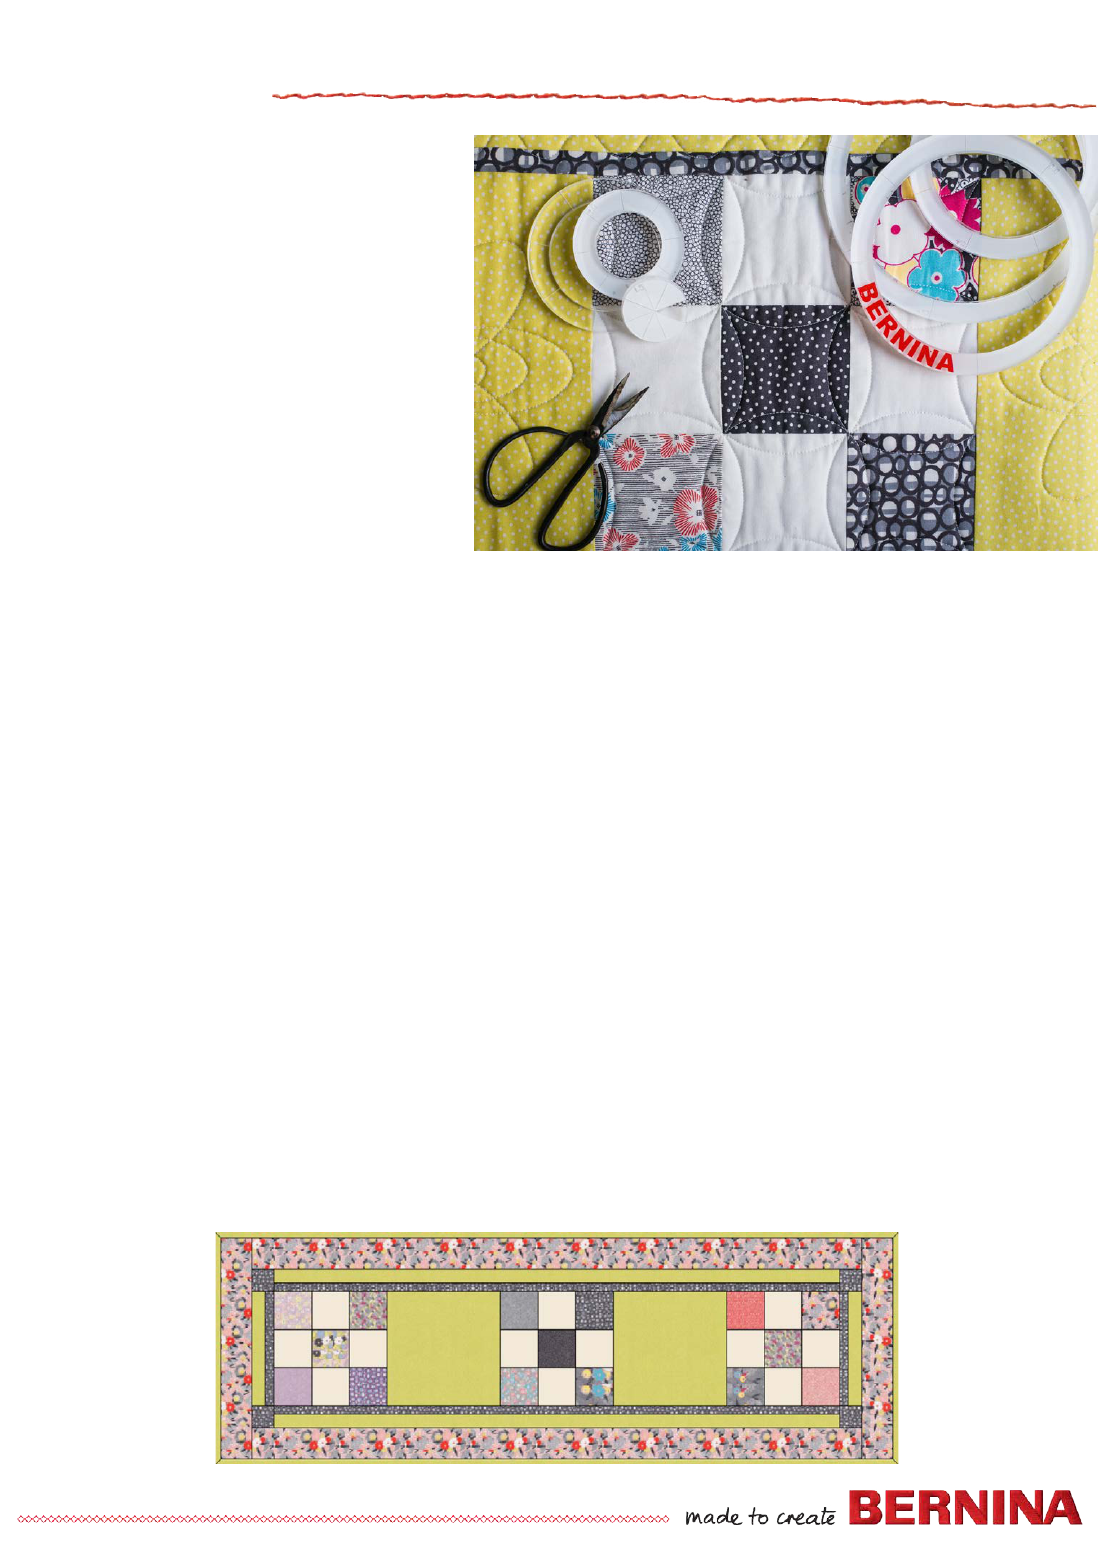
BONUS PROJECT
Practice your rulerwork skills with this simple
project.
SUPPLIES
• 1/8 yard of 3 different fabrics for 9-patch
• 1/4 yard of background fabric for 9-patch
• 1/3 yard fabric for solid blocks
• 1/4 yard for rst border and corner stones
• 1/4 yard for second border
• 1/2 yard fabric for outer border
• 1/3 yard fabric for straight cut binding or 1/2
yard for bias cut binding
• 1 ½ yard polyester needle punched eece
• 1 ½ yard backing
• Patchwork Foot #37, #57 or #97
• Ruler Work Foot #96 for Longarm machines or Adjustable RulerWork Foot #72 for Domestic Machines
• BERNINA Sit-down Ruler Kit
• Thread for Construction
• Thread for Quilting
CUTTING
NINE PATCH
• For each of the 3 fabrics
o Cut 3 ½” wide strips of the 3 different fabrics /
sub cut into 5-3 ½” squares
• Background fabric
o Cut 3 ½” strips/sub cut into 12-3 ½” squares
ALTERNATING SQUARES
• Cut 2-9 ½” squares
BORDERS
• 1st Border
o Cut 3 strips the WOF X 1” wide
o Cut 4 Squares 1 ¾”
• 2nd Border
o Cut 3 strips the WOF X 1 ¼” wide
• 3rd Border
o Cut 4 strips the WOF X 3 ½” wide

© 2016 BERNINA of America bernina.com
CONSTRUCTION
• Piece 5 colored squares and 4 background squares to
make a nine patch
• Make 3 nine patch blocks
• Piece together the 3 nine patch block and the 2 solid
blocks.
BORDERS
• Join the 3 strips cut for the 1st and 2nd borders with
mitered seams.
• Seam these two long strips together lengthwise.
• Cut 2 strips 45 ½” and 2 strips 9 ½”.
• Attach the 2 long strips to the long edges of the
runner. Seam the cornerstone squares to each end
of the short strips. Attach strips to the ends of the
runner.
• Join the 4 strips cut for the outside border with
mitered seams.
• Cut 2 strips 48” and 2 Strips 18 ½”
• Attach the sides and then ends.
QUILTING THE RUNNER
• Mark the solid blocks with vertical, horizontal and
diagonal lines.
BLOCKS
SPIROGRAPH IN SOLID BLOCKS
• Use the nesting ovals to stitch a spirograph design.
No need to break thread between oval sizes. Stop
stitching at the bottom of oval where you began,
needle down. Remove key in the nested ovals and
turn counter clockwise and replace for the next size
oval. Remove the small oval. Continue stitching.
• The “key” has the size of the oval etched on the
bottom edge as seen in the red oval. These numbers
match the numbers on each side of the oval as seen
at the arrows. As you move to a larger oval move the
“key” counter clockwise and notice that the numbers
match.
• Begin by stitching all 4 sizes of the ovals on one line.
Begin stitching at the bottom center.
• Repeat nested ovals on the horizontal and vertical
lines. Add a large single oval on each diagonal line.
© 2016 BERNINA of America bernina.com
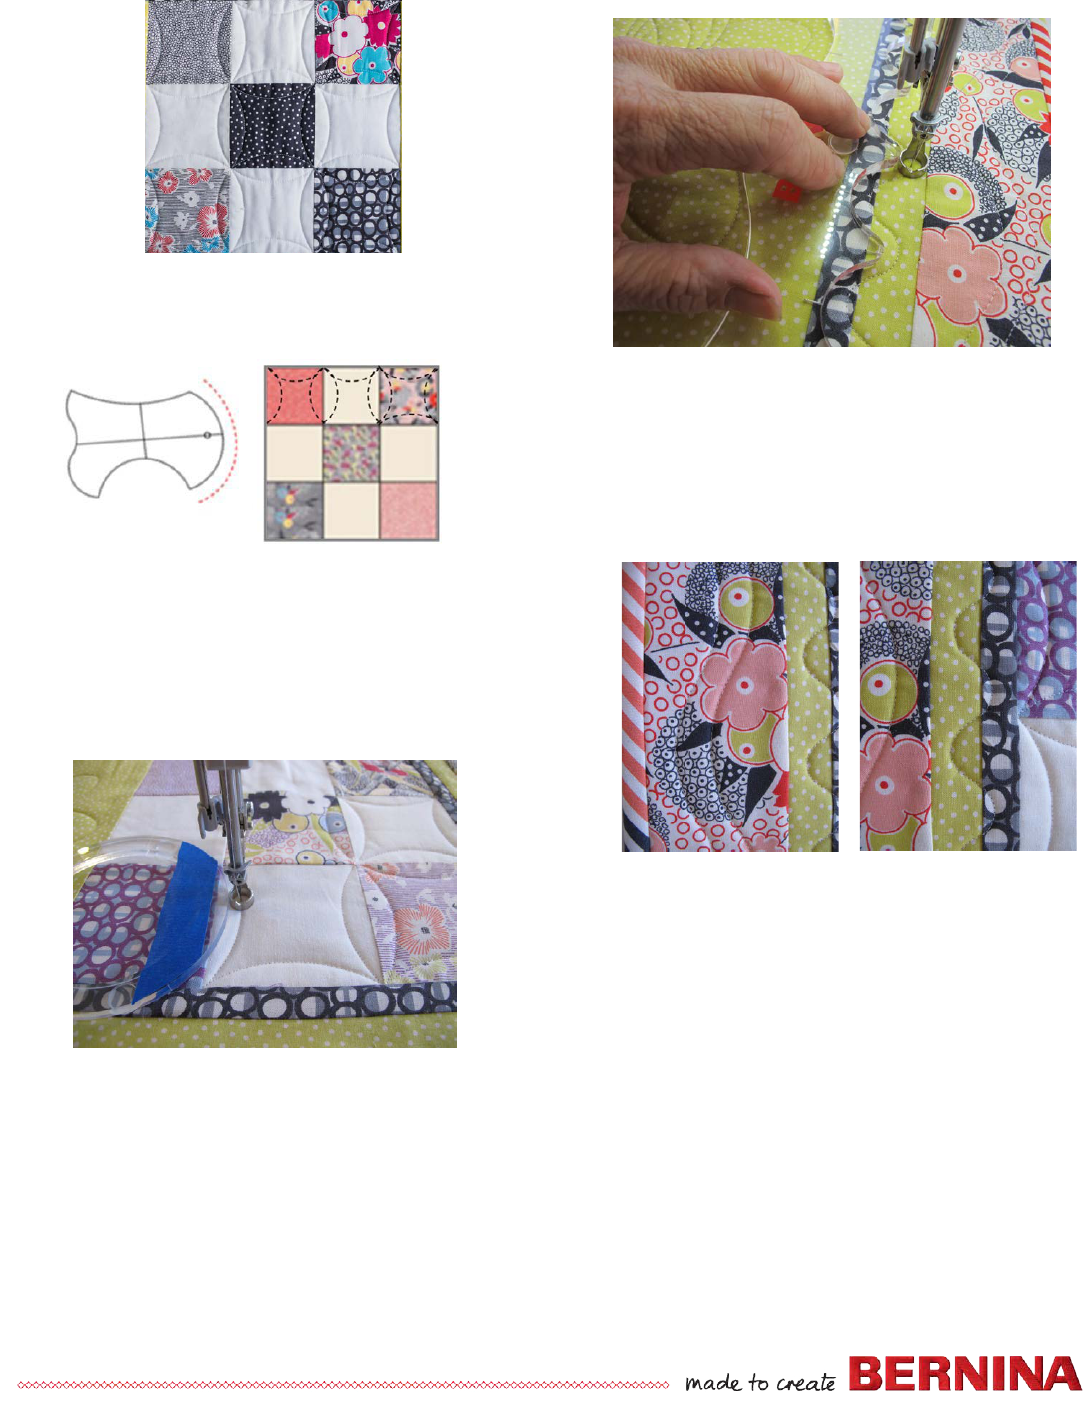
CONTINUOUS LINE CURVES
ON THE 9-PATCH.
• This technique can be done with any ruler that gives
you the curve you desire. The Mini 4-in-1 tool is an
excellent choice.
• Remember to lower the needle into the fabric where
you want to begin, as you will be stitching ¼” from
the ruler. Position the ruler against the foot and angle
it accordingly on the fabric. A piece of tape across the
ruler to line up on the seam helps with quickly placing
the ruler always keeping it at the same angle.
QUILTING THE BORDERS
The borders were done with the Squiggle Template.
• The small scallop side was used on the inside borders,
over the seam. The wavy side was used in the outer
border. There are two rows of stitching that are
echoed; an easy technique with rulers. Because this is
a longer ruler you will want to position your hand on
the ruler at a comfortable hand span.
• When you have stitched the length of the span, stop
with the needle down and walk your hand down or
reposition ruler.
• Finish the table runner with binding.
